It feels like it’s been a while since I last posted. Too busy enjoying summer I guess 😉 I have been busy though… my latest project has been painting and reupholstering two chairs I found for a steal at a local Salvation Army.
Several weeks ago my aunt and I went thrift shopping and we spotted these chairs. They were matching, but one had been painted white (it looked bad, trust me, the pictures don’t do it justice…) and the other still in it’s original wood state. The seats were a nasty vinyl crusted with years of food buildup and other grime. (They looked so gross, Mr. Fancee refused to even sit on them to try them out ;)) Despite their less than appealing appearance, they are very sturdy chairs with nice lines… and for less than $3 each you can’t beat it!
I actually don’t have a photo of them in their original state. I just get in such a hurry to start the project, I often skip the photojournalism (something I mean to work on).

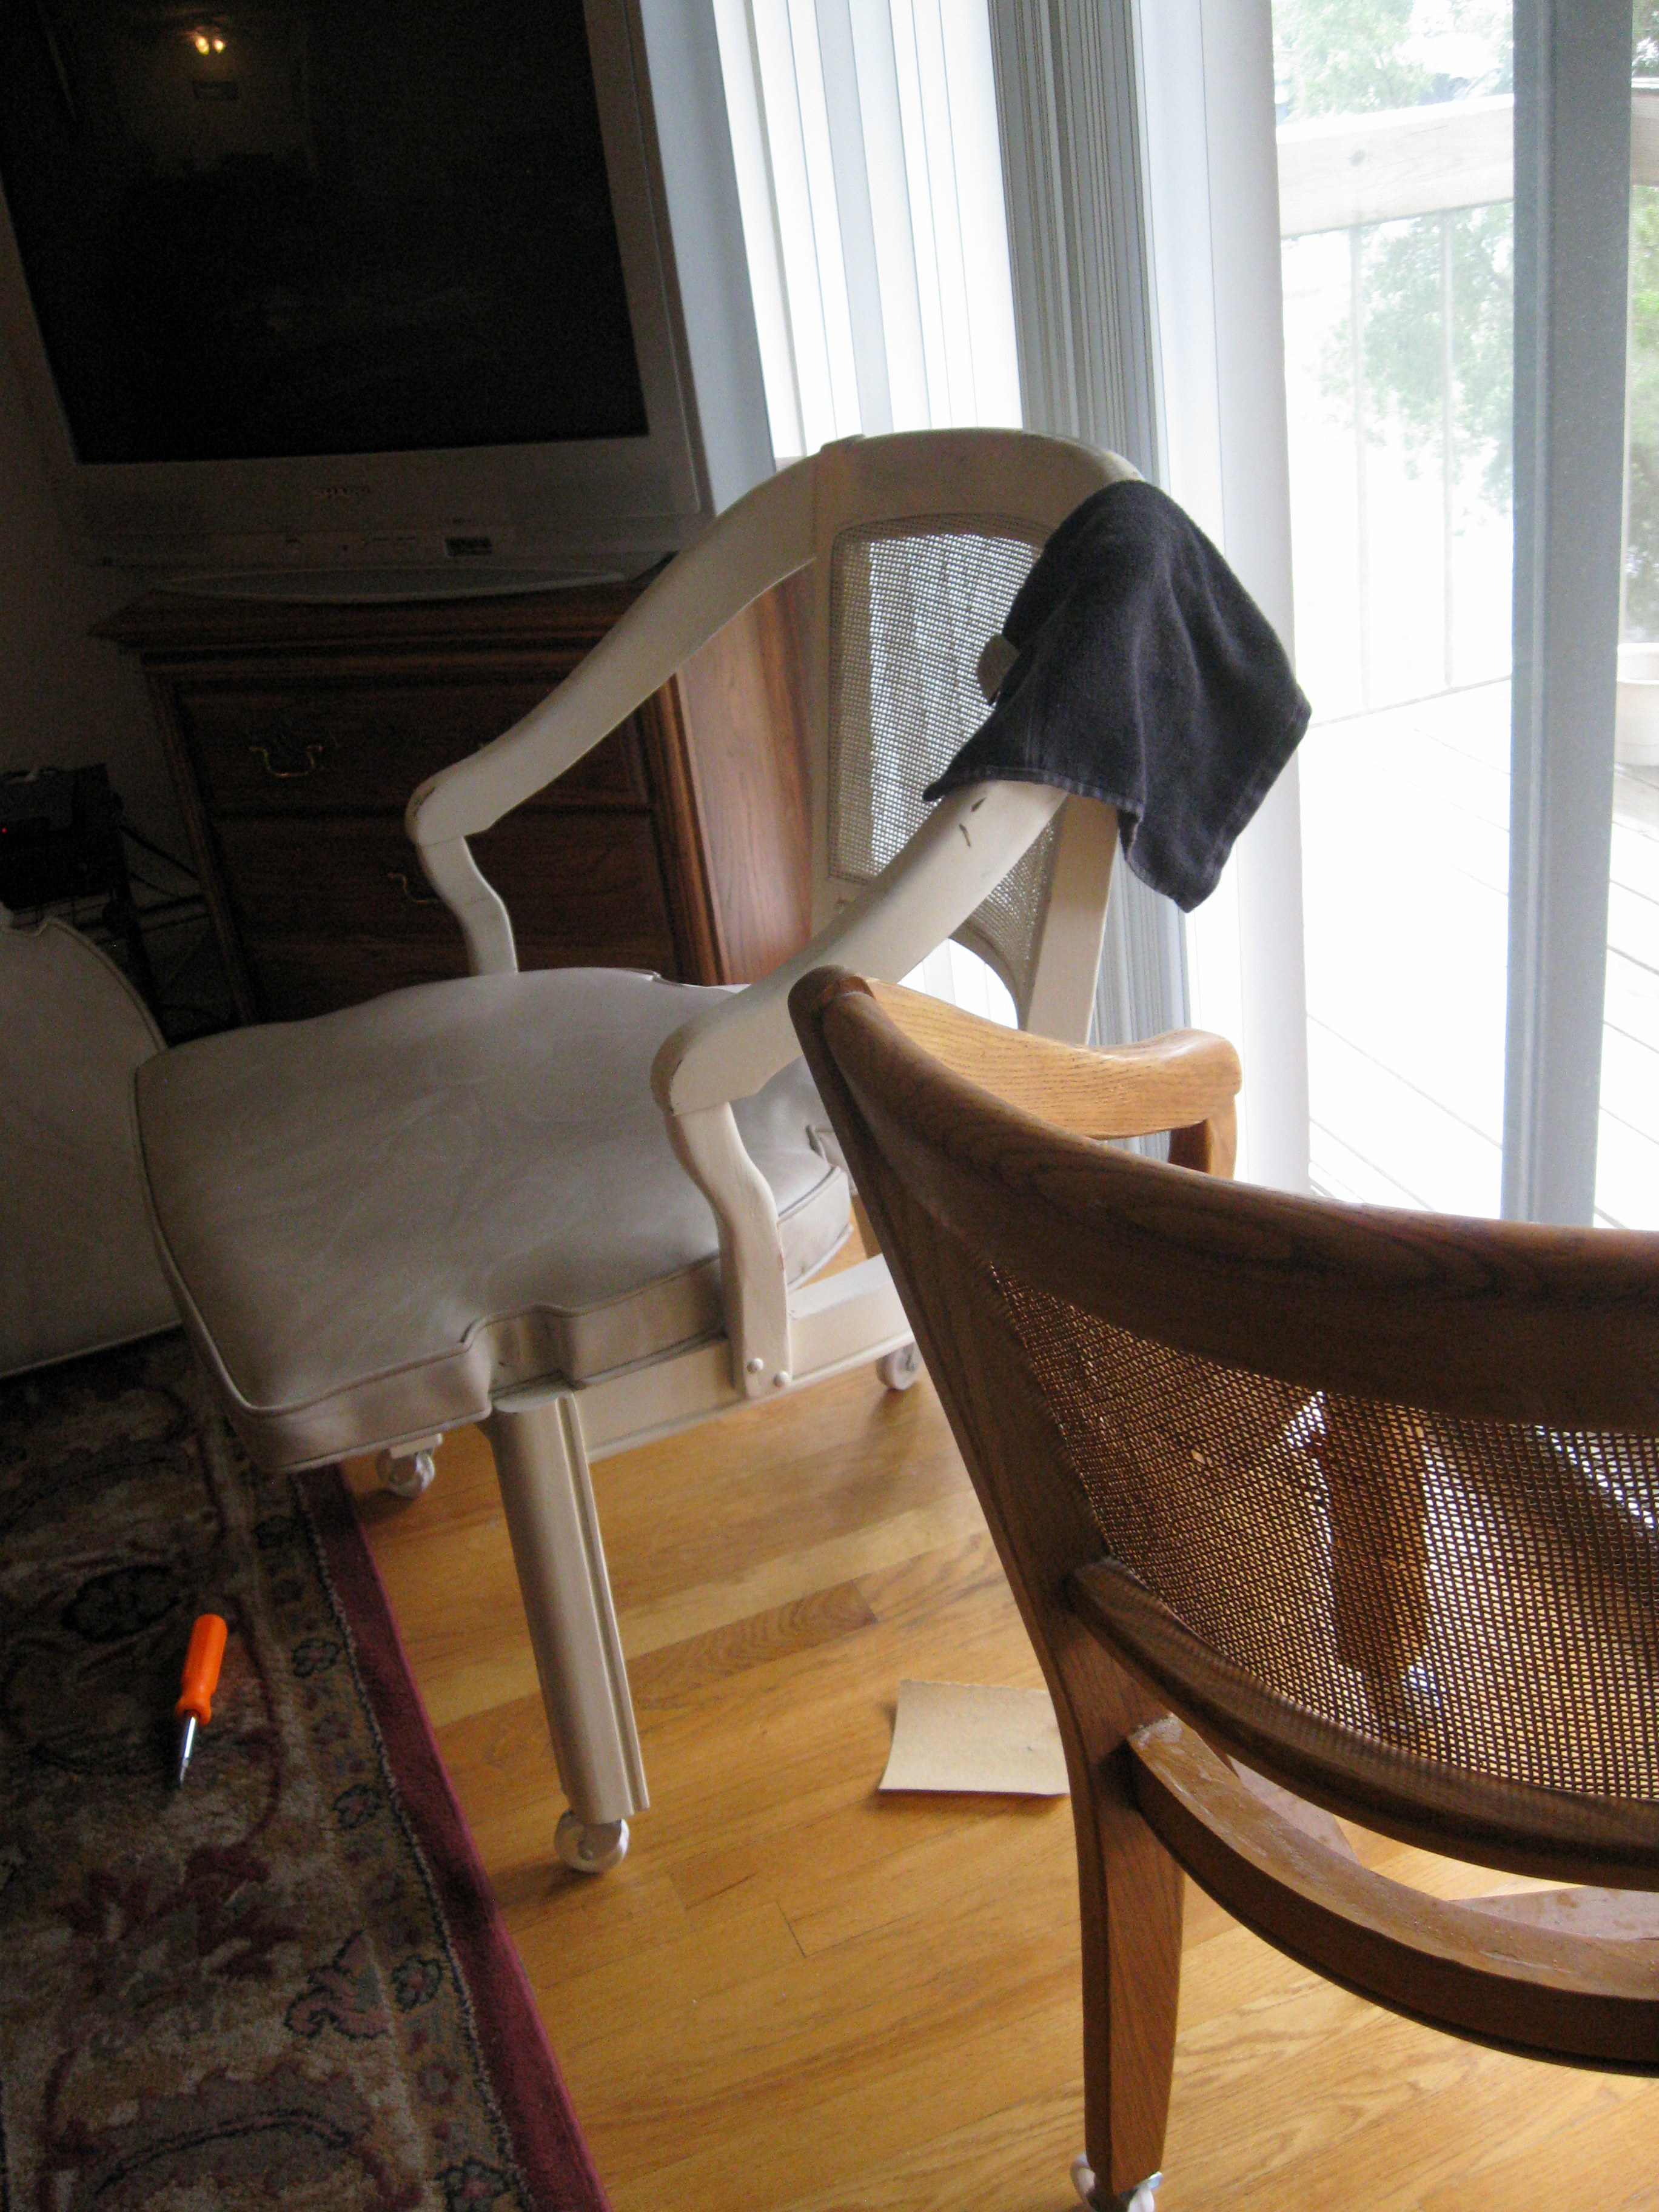
The first thing I did was remove the seat so I could get to painting. I did consider sanding and restaining them, but painting seemed so much easier 🙂 Plus I’ve really been itching to try my hand at painting furniture. (I learned a lot this go around, so hopefully next time I can do a much more quality job).
So here is where I got on a roll and stopped taking progress pictures… so I will do my best to fill the gaps. After sanding, priming, and painting (and doing it all again, because my chairs got rained on… :(), I was ready to tackle the upholstery.
Usually, you use foam and batting from a craft store, but that stuff is expensive and I didn’t want to invest more than what I even paid for the chairs. Luckily the idea lightbulb came on when, after watching a DIY network show where they used carpet padding to upholster, I saw a giant roll of carpet padding at a thrift store for $4. And again we’re in business!

I created a pattern to cover the cane in the front and back, and used it to cut out my carpet pad and fabric. The fabric is sort of a neutral herringbone design with some nice texture. The cream and gold color kind of blend together to appear more beige.
 After investing in a staple gun, I stapled on the foam and fabric on the fronts and backs of the chairs. My hand hurt a lot afterwards…. 🙁 Next I had to tackle the seats. I quickly realized that I would have to remove all of the staples from the previous upholstery job. And that took a while….

Once they were all out though, it was smooth sailing. I used the old fabric to cut out mine. (I know the cushions originally had a piping seem in them, but I just was not feeling up to that) So, I stapled the fabric on, pulling it as tight as I could (while attempting to staple all at the same time). Luckily Mr. Fancee was around to assist with the second cushion. 🙂

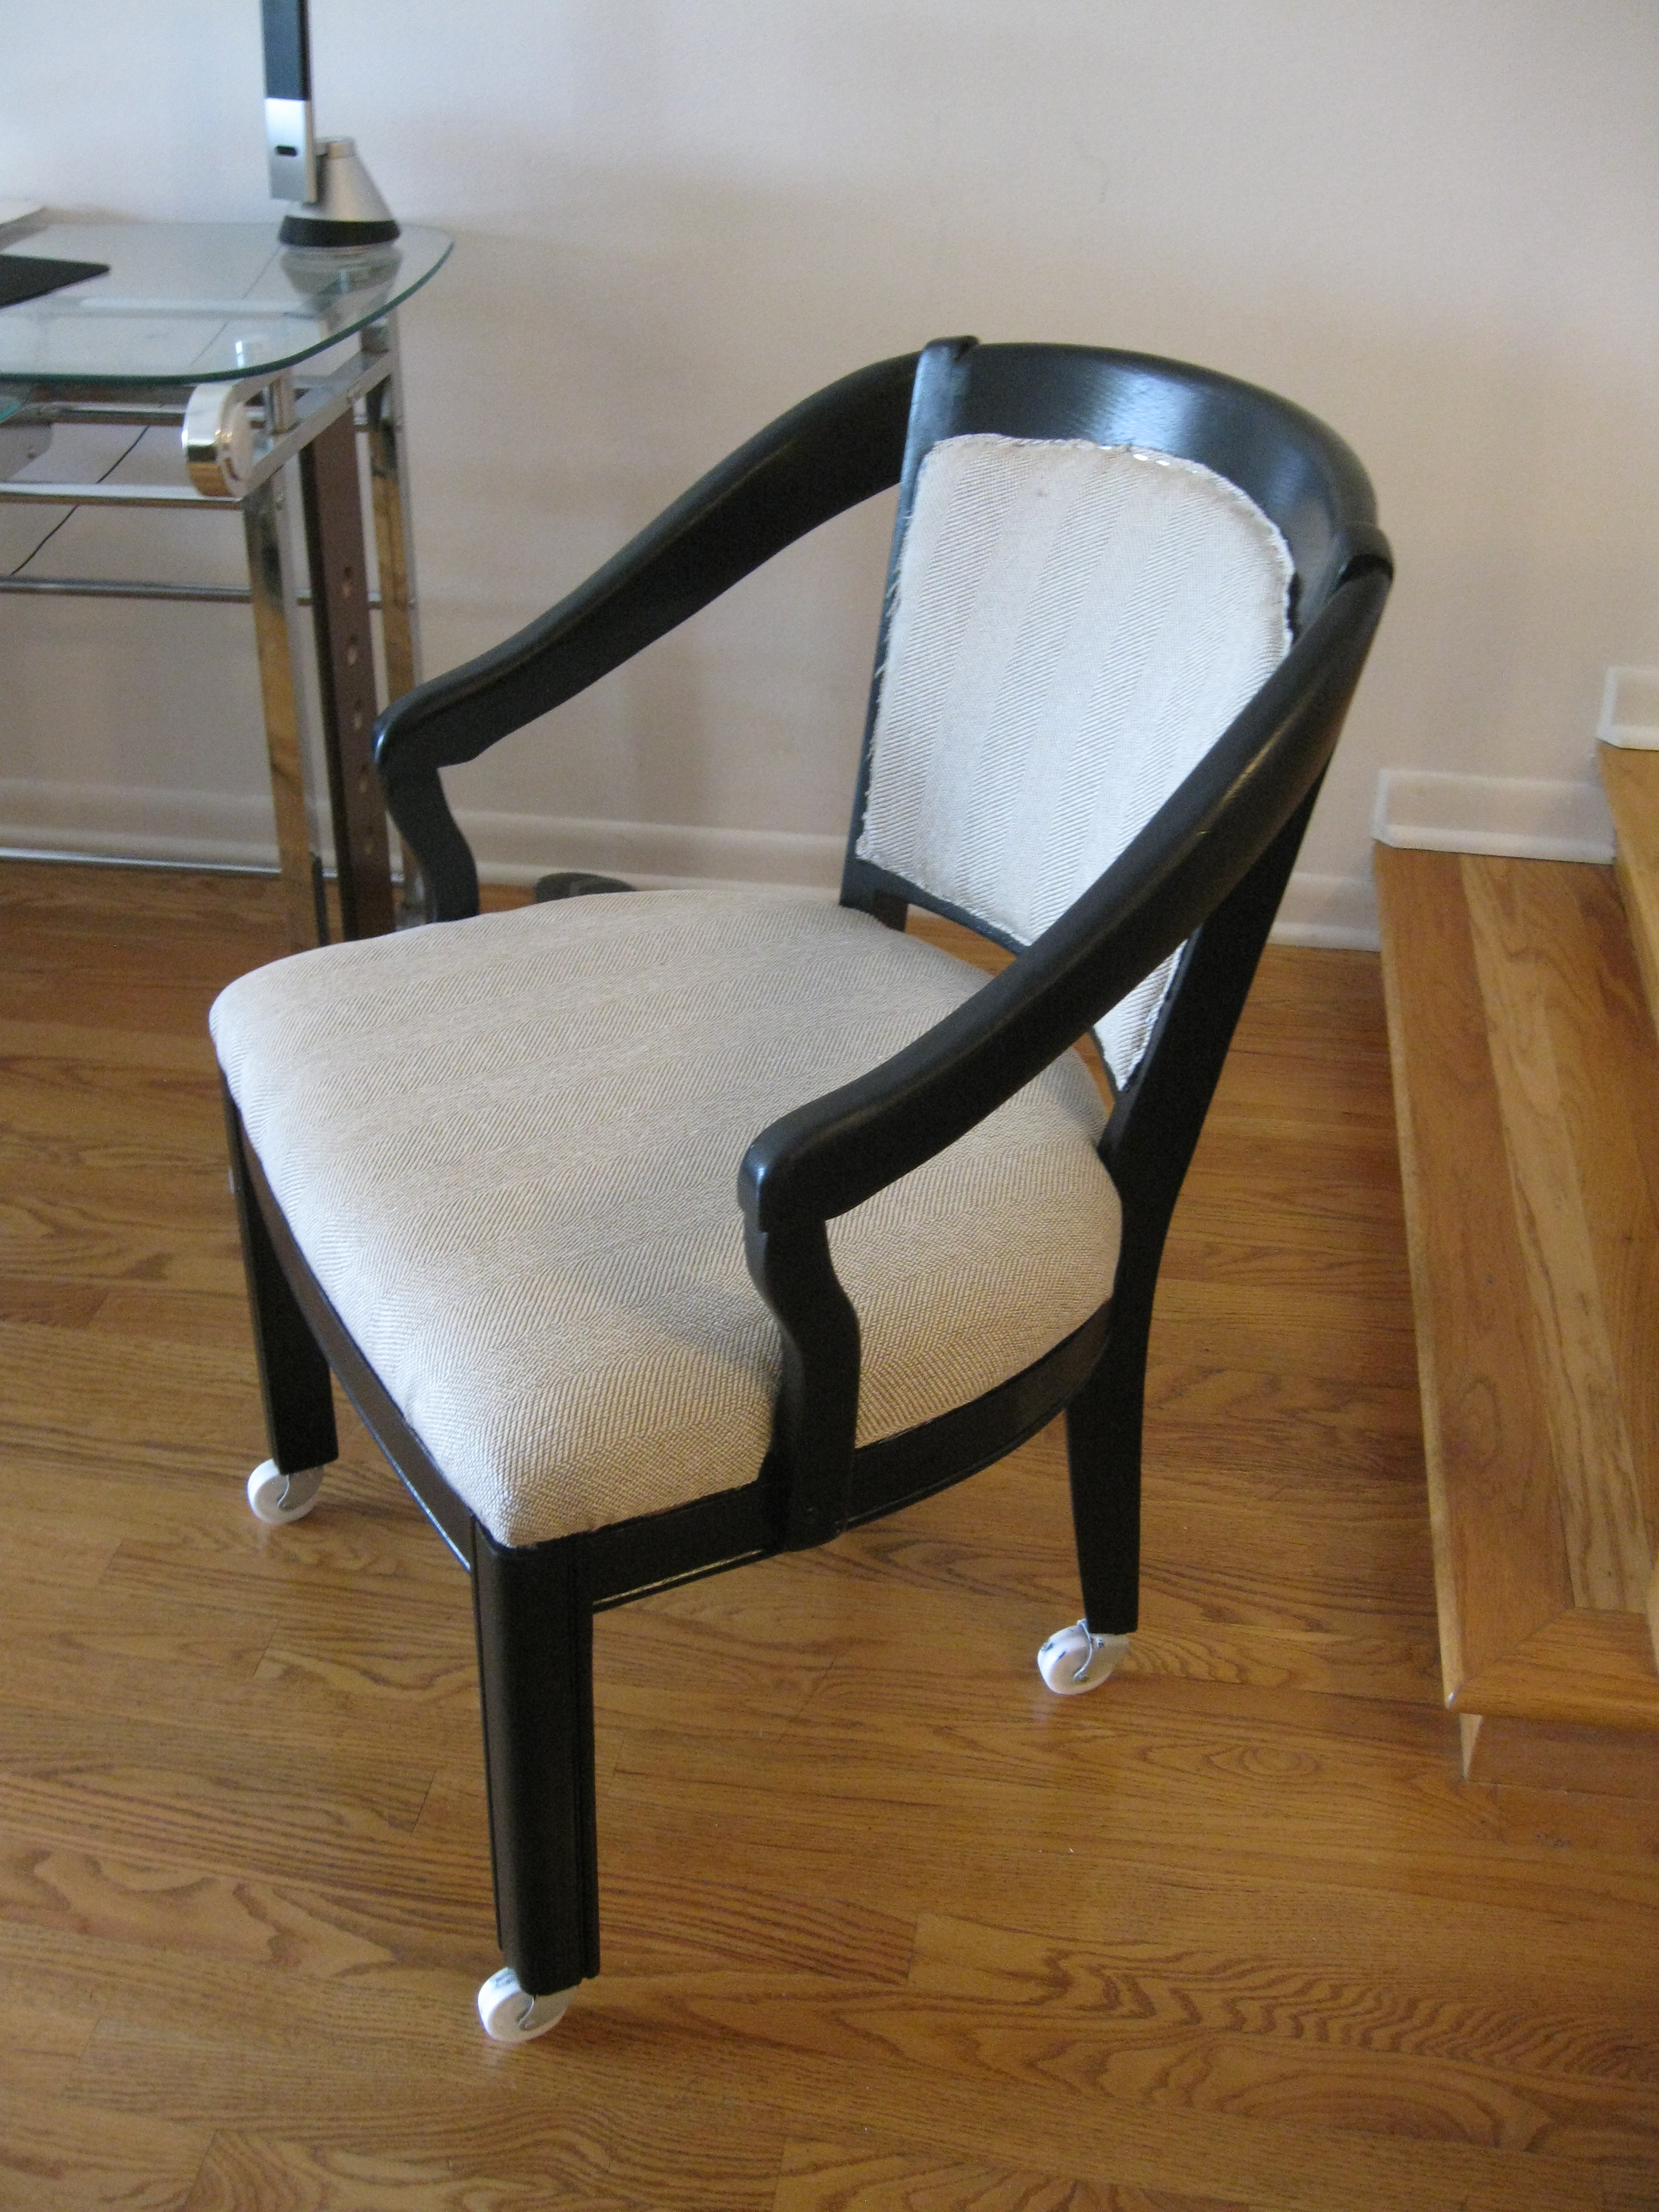
Here is a chair post upholstering. All that’s left is to cover up those staples with some piping.

After contemplating the possible difficulty of sewing double piping… I decided to go for it, because it would allow me to use the same fabric. So I purchased some upholstery cord from Jo Ann’s and read a couple tutorials. Turns out it was not bad at all!
First, you must cut your fabric on a diagonal so that it will curve easier around corners. Cut about 2.5-3″ long strips (mined ended up being a little too skinny…) and sew them together at an angle. Next, you just fold the fabric over your cord and sew away (using a zipper foot)!
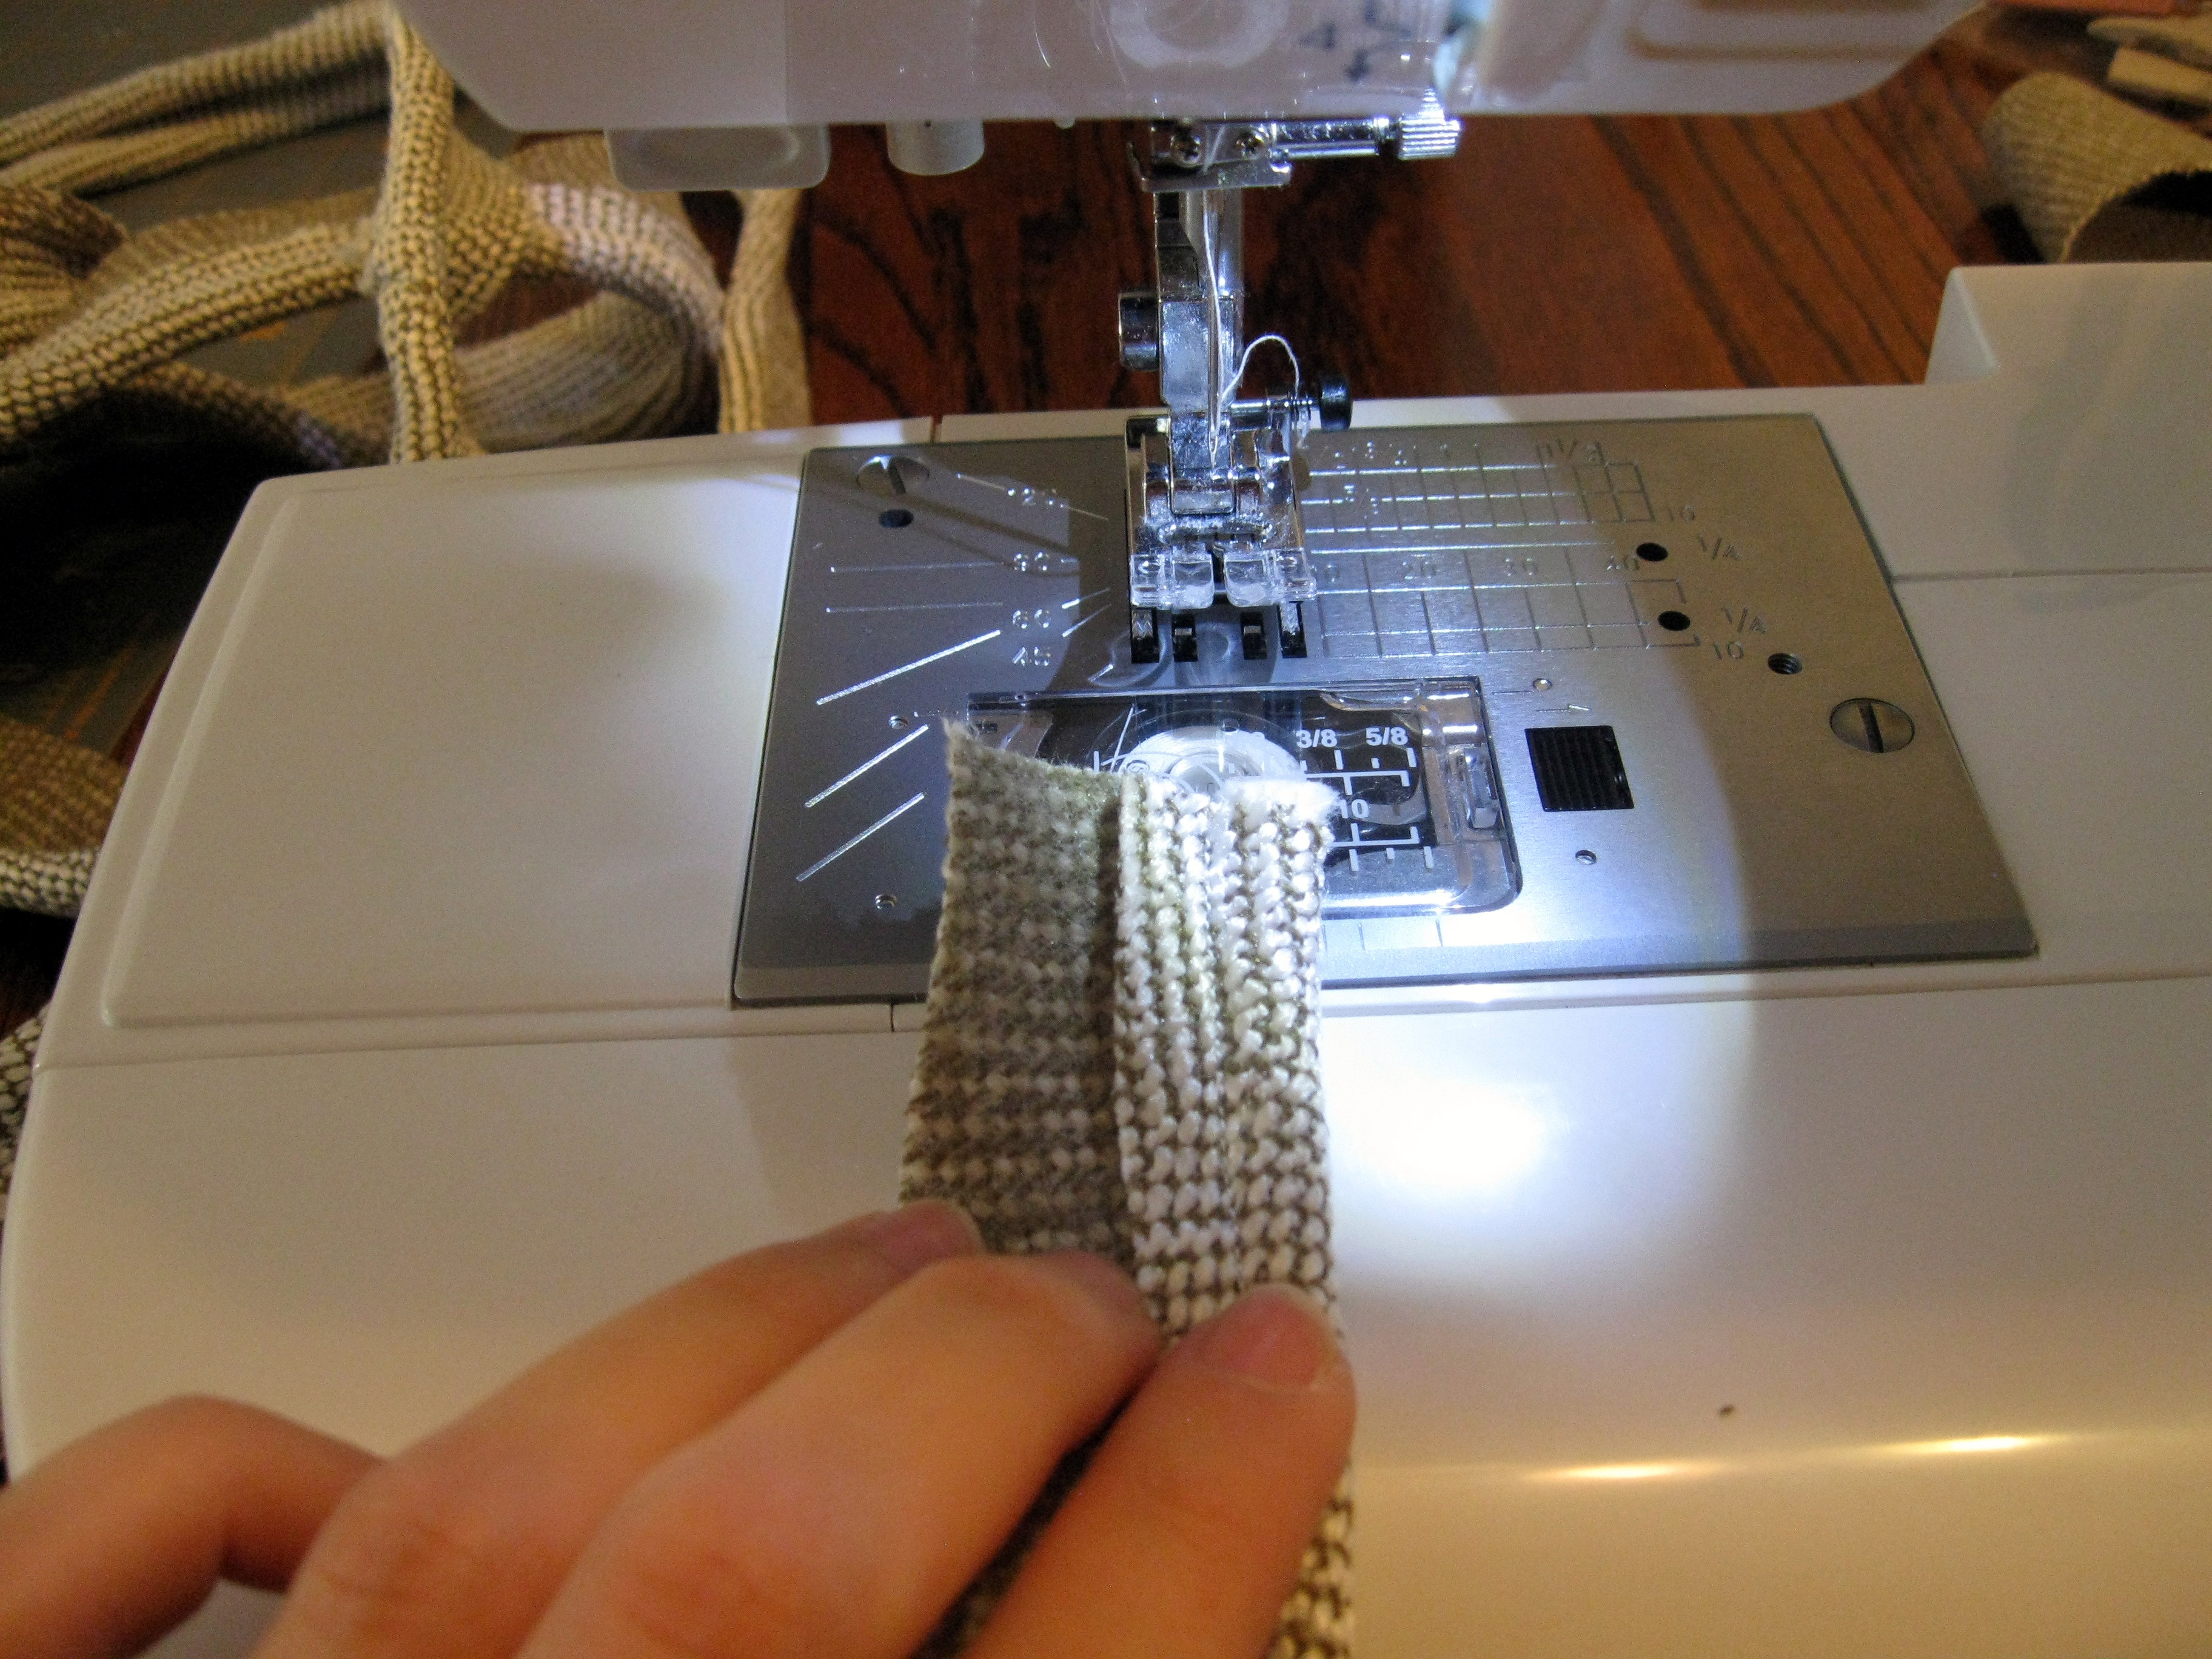
Once you’ve finished, insert your second cord alongside the first and fold the remaining fabric over. (Hopefully you had more left over than I did….) Put your normal foot back on and just sew right down the middle!

And there you have it, double piping! I used a hot glue gun to attach the piping around the edges of the upholstery.
I think they turned out pretty nice 🙂 At least for a first timer, I think I did a fairly good job, and gained a lot of valuable know-how!


I still need to sew the piping for the second chair, and then I’ll be done. We’re planning on putting one with our Dumpster Dive Desk, and the other as extra seating in the living area.
Thanks for reading along! I promise I will try and improve my project photo-taking skills for next time 😉
So this has been awhile now. How well did the carpet padding work? I am planning on refinishing my kitchen chairs and I have a ton of left over carpet padding, but i don’t know how comfortable they will be to sit on after time passed.
I just read your decorating for INTP’s post, and of course I noted that you’re an INTP (like me!) I’ve been having so much fun reading your blog, and I’m starting to see some INTP patterns here – the thrifting, diy-ing, dumpster-diving, lol. I just recently moved into a new apartment and managed to furnish the living room and dining room entirely with freebies (except for an ikea couch). I too suffer from an excitedness to craft that results in a lack of before and during photos.
Anyway, just wanted to let you know that you’re blog is speaking to me and I’m really liking what I hear!
Nina, wow! So impressed that you furnished your apartment totally free (plus I love ikea couches)!!! And seriously, why is it so hard to remember to take those before/during photos? 😉 lol… It’s so good to hear from a kindred spirit, thanks so much! And best of luck on your dumpsterdiving/diying/thrifting adventures 🙂
you had a vision and went with it! looks great! aunt kathy.
Thanks so much! I never could have done it without your encouragement 🙂
They look fantastic – you did a great job!
Thanks Sammi!
These turned out great and what a good deal! Thanks for the Facebook like 🙂
Thanks so much Bethany! I had a really fun time working on them 🙂